

Assign the social image you want Facebook to show when you share the link to your Squarespace website.
Do you need some Squarespace help with Social Sharing? In this tutorial I will teach you how to control your Squarespace social sharing image.
Add Social Image in Squarespace.
By default Squarespace will show your social sharing logo as your social sharing image for your website. Below are instructions for how you can swap this social sharing logo for a social sharing image on each page on your site making your website more visually exciting to share.
1. Open your Squarespace account’s website editor.
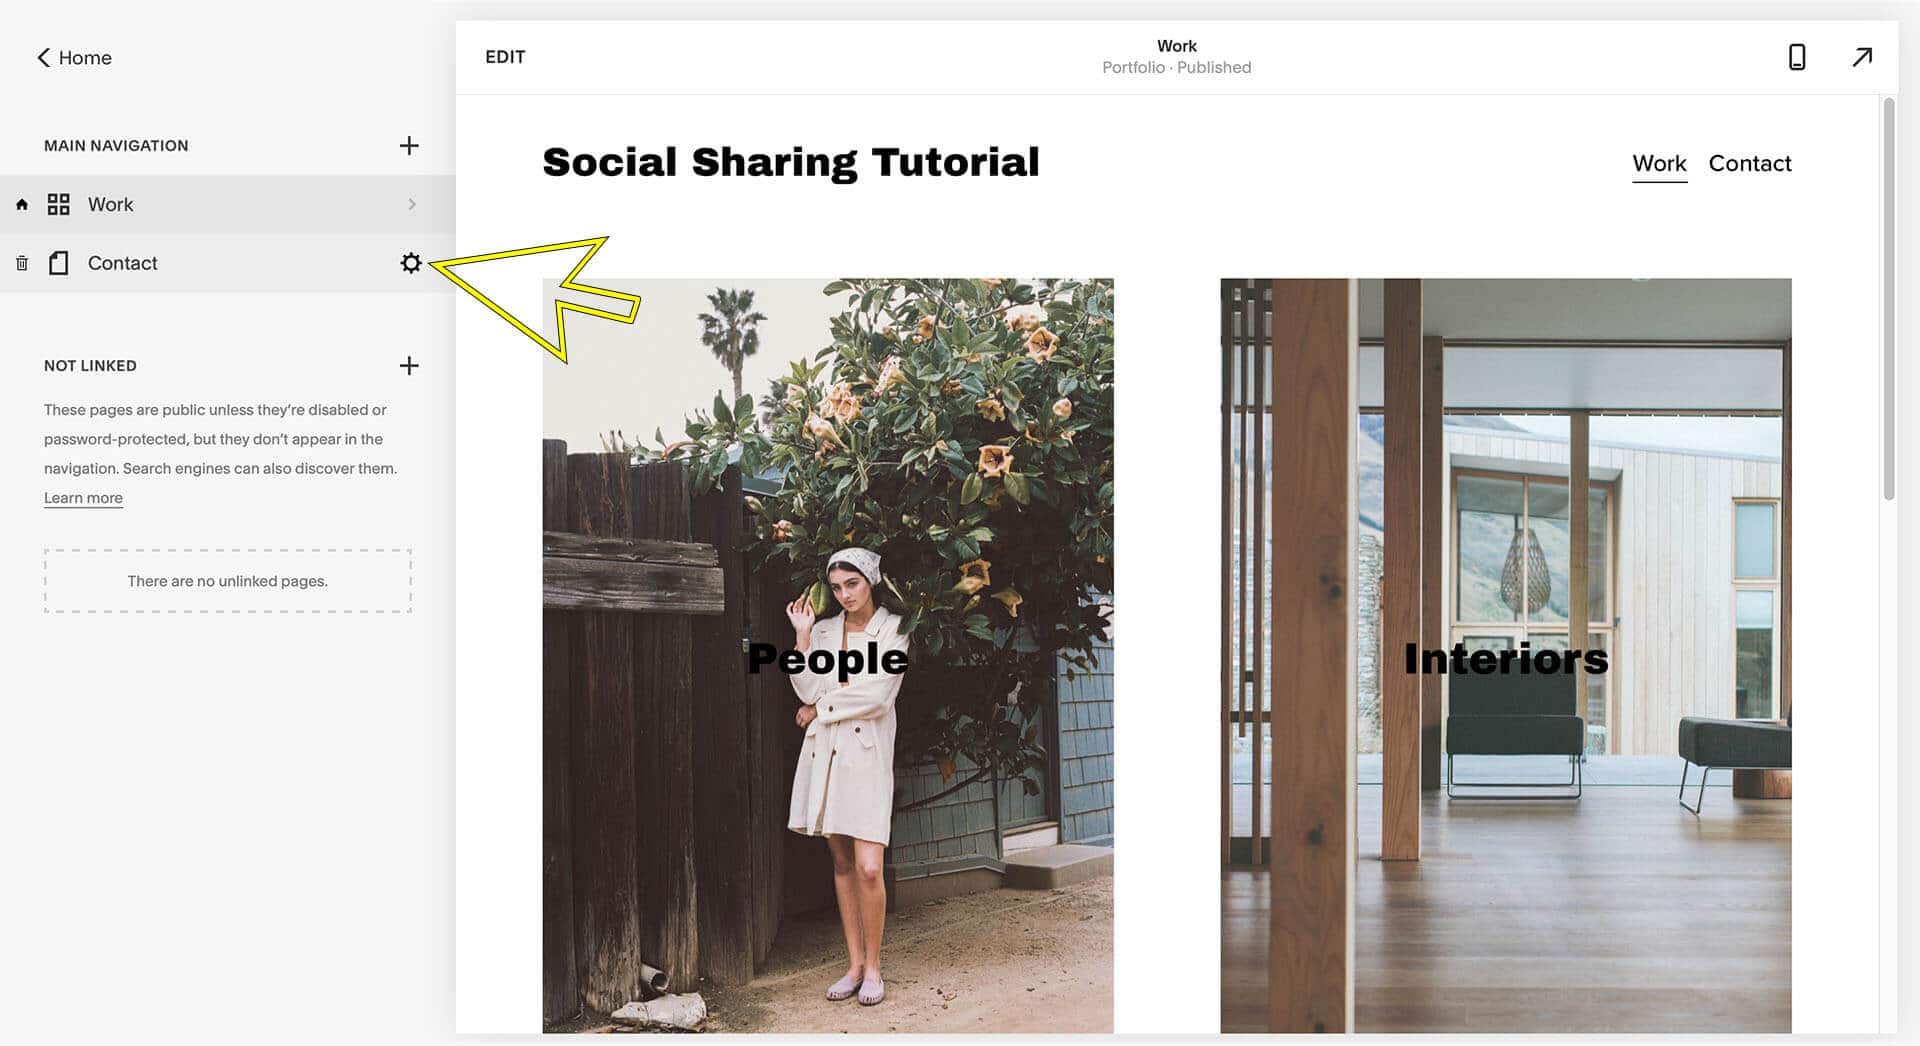
2. Click on your page settings.
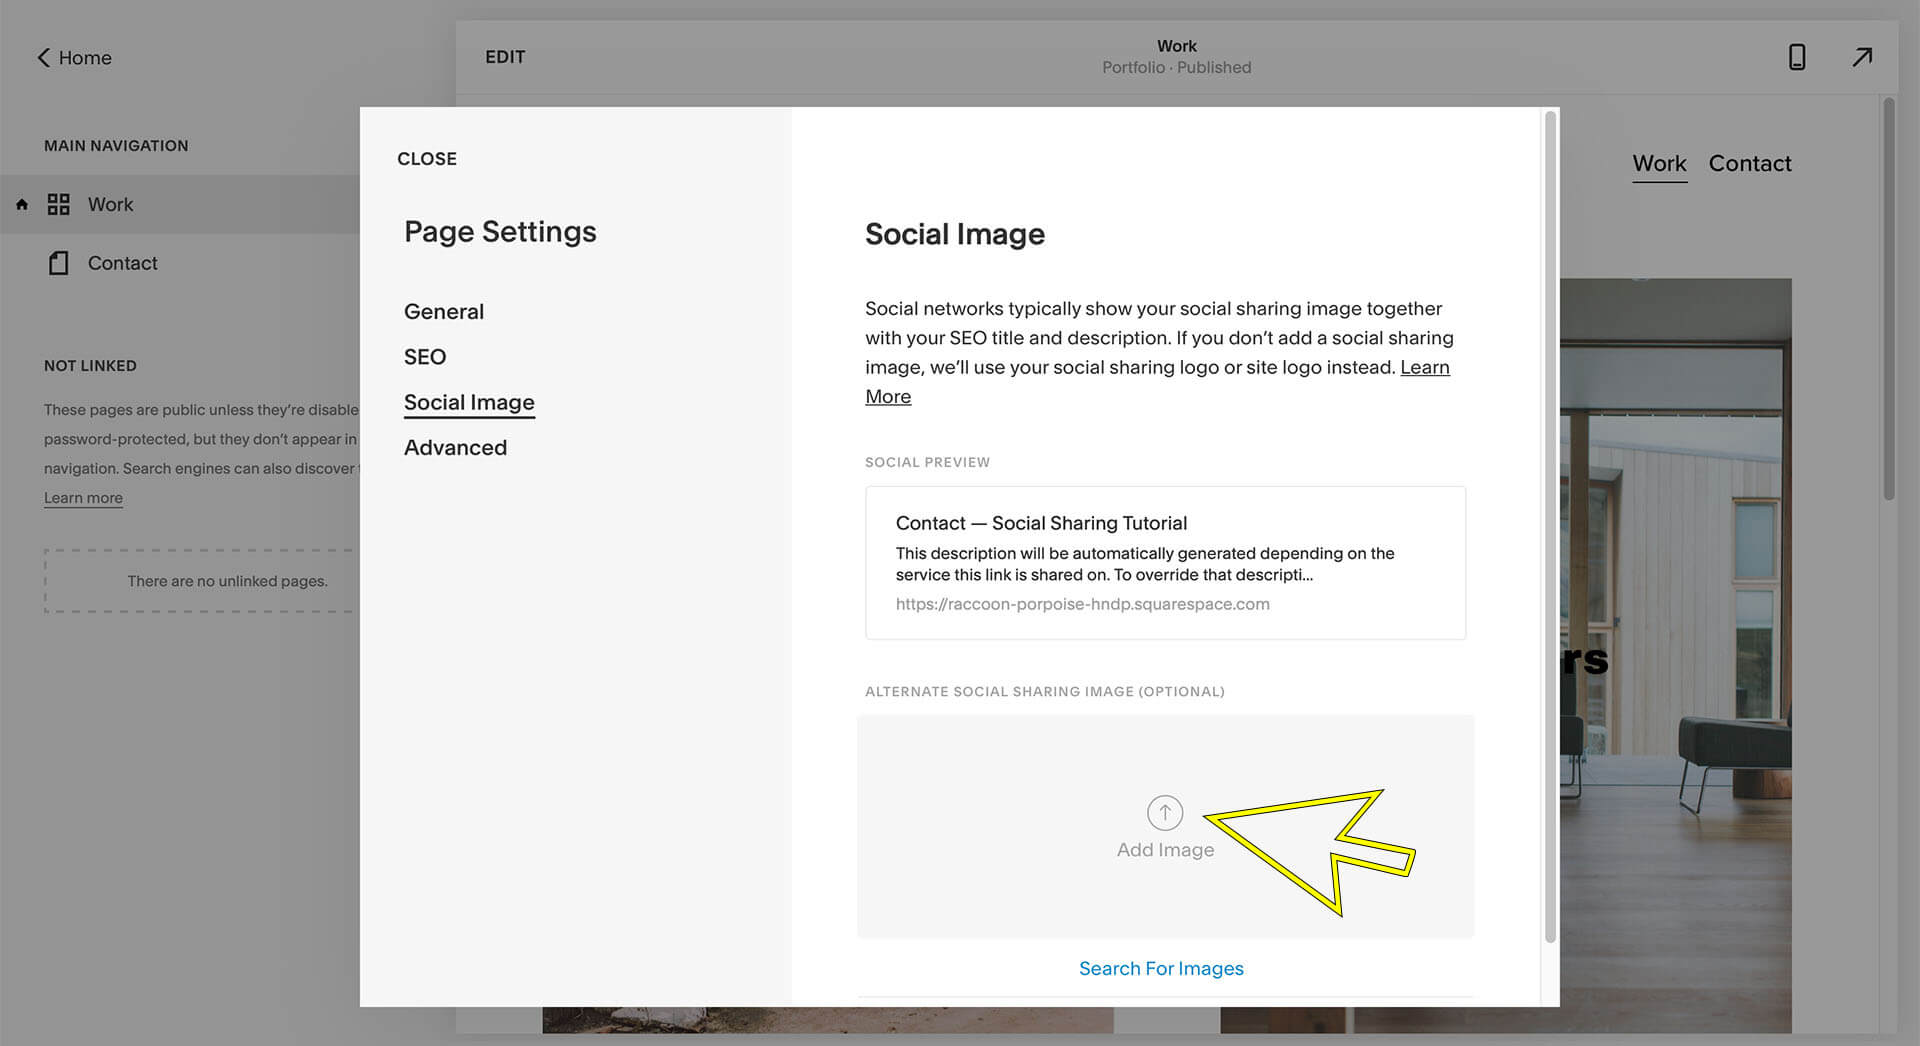
3. Click on “social image”.

4. Outside of Squarespace (like Photoshop) crop and size your image.
Facebook link post image resolution is: 1200 x 628 pixels, so make your social sharing image this size.
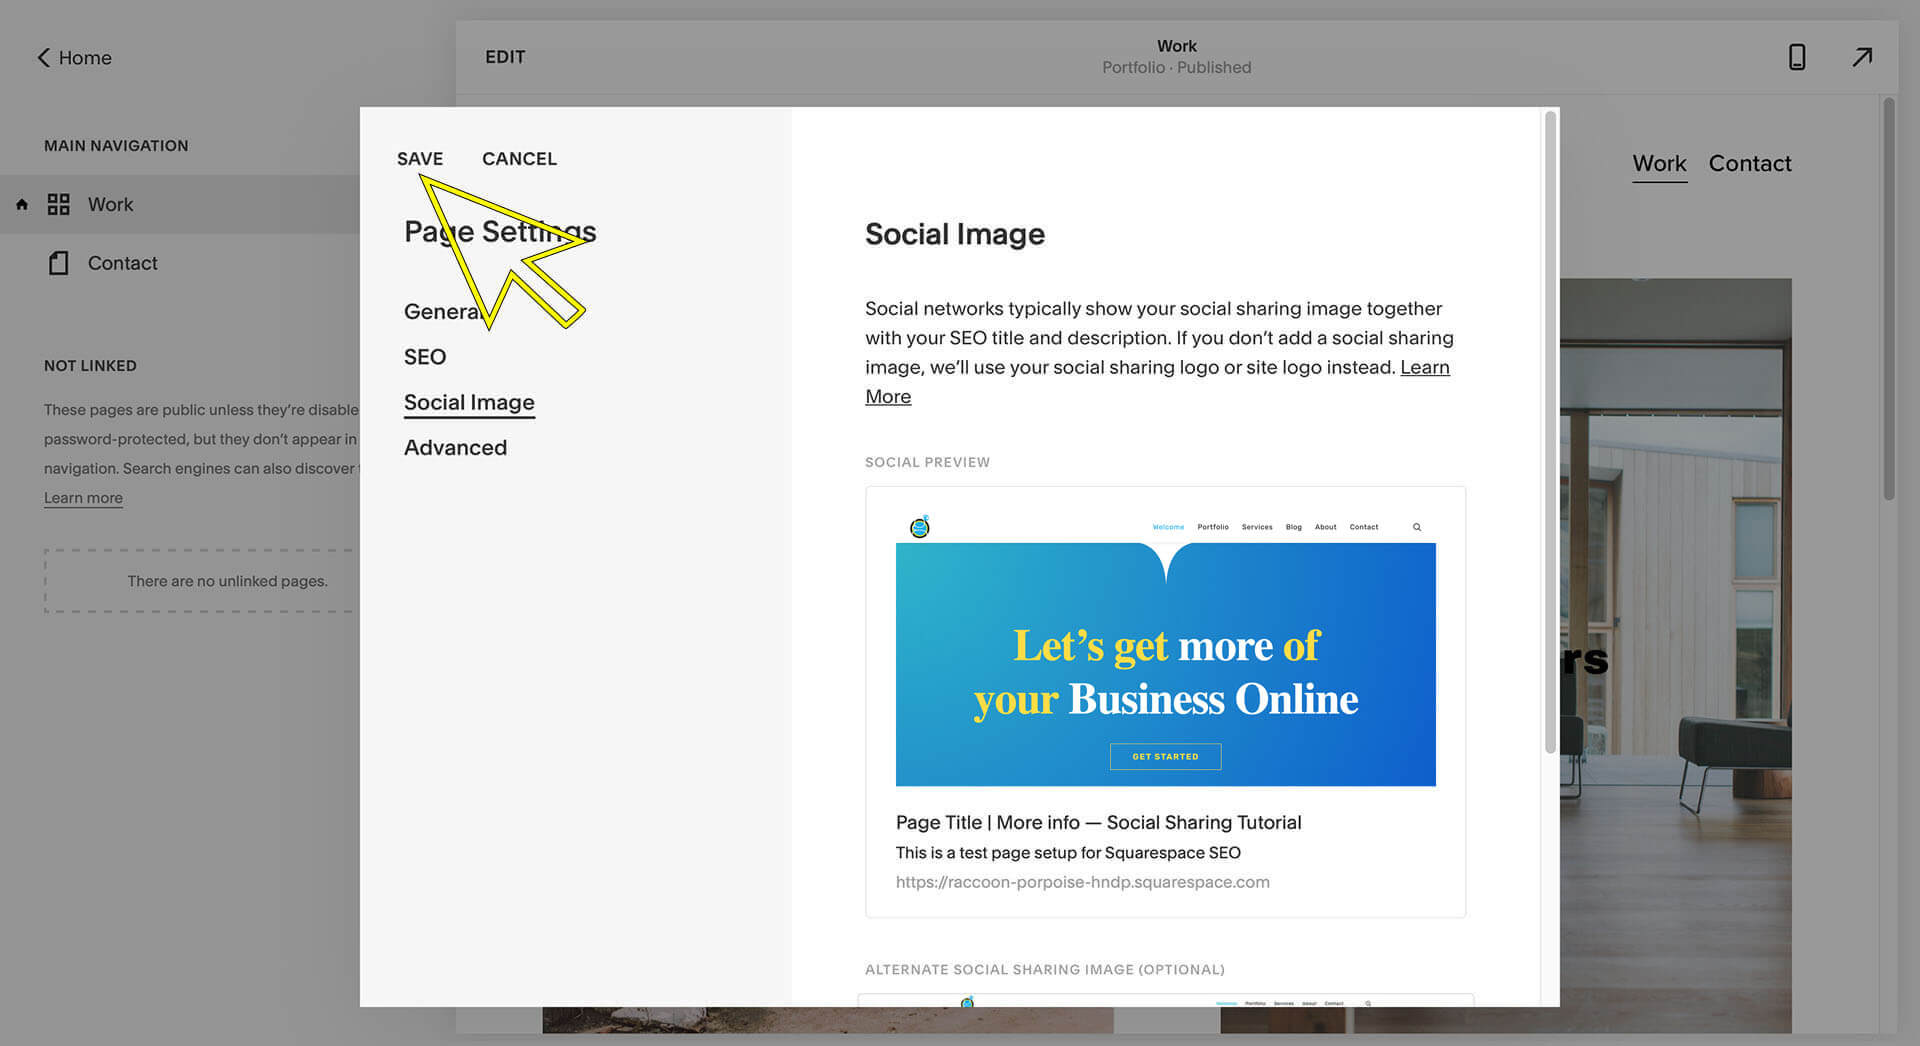
5. Add your image to the alternate social sharing image area.
5. Save
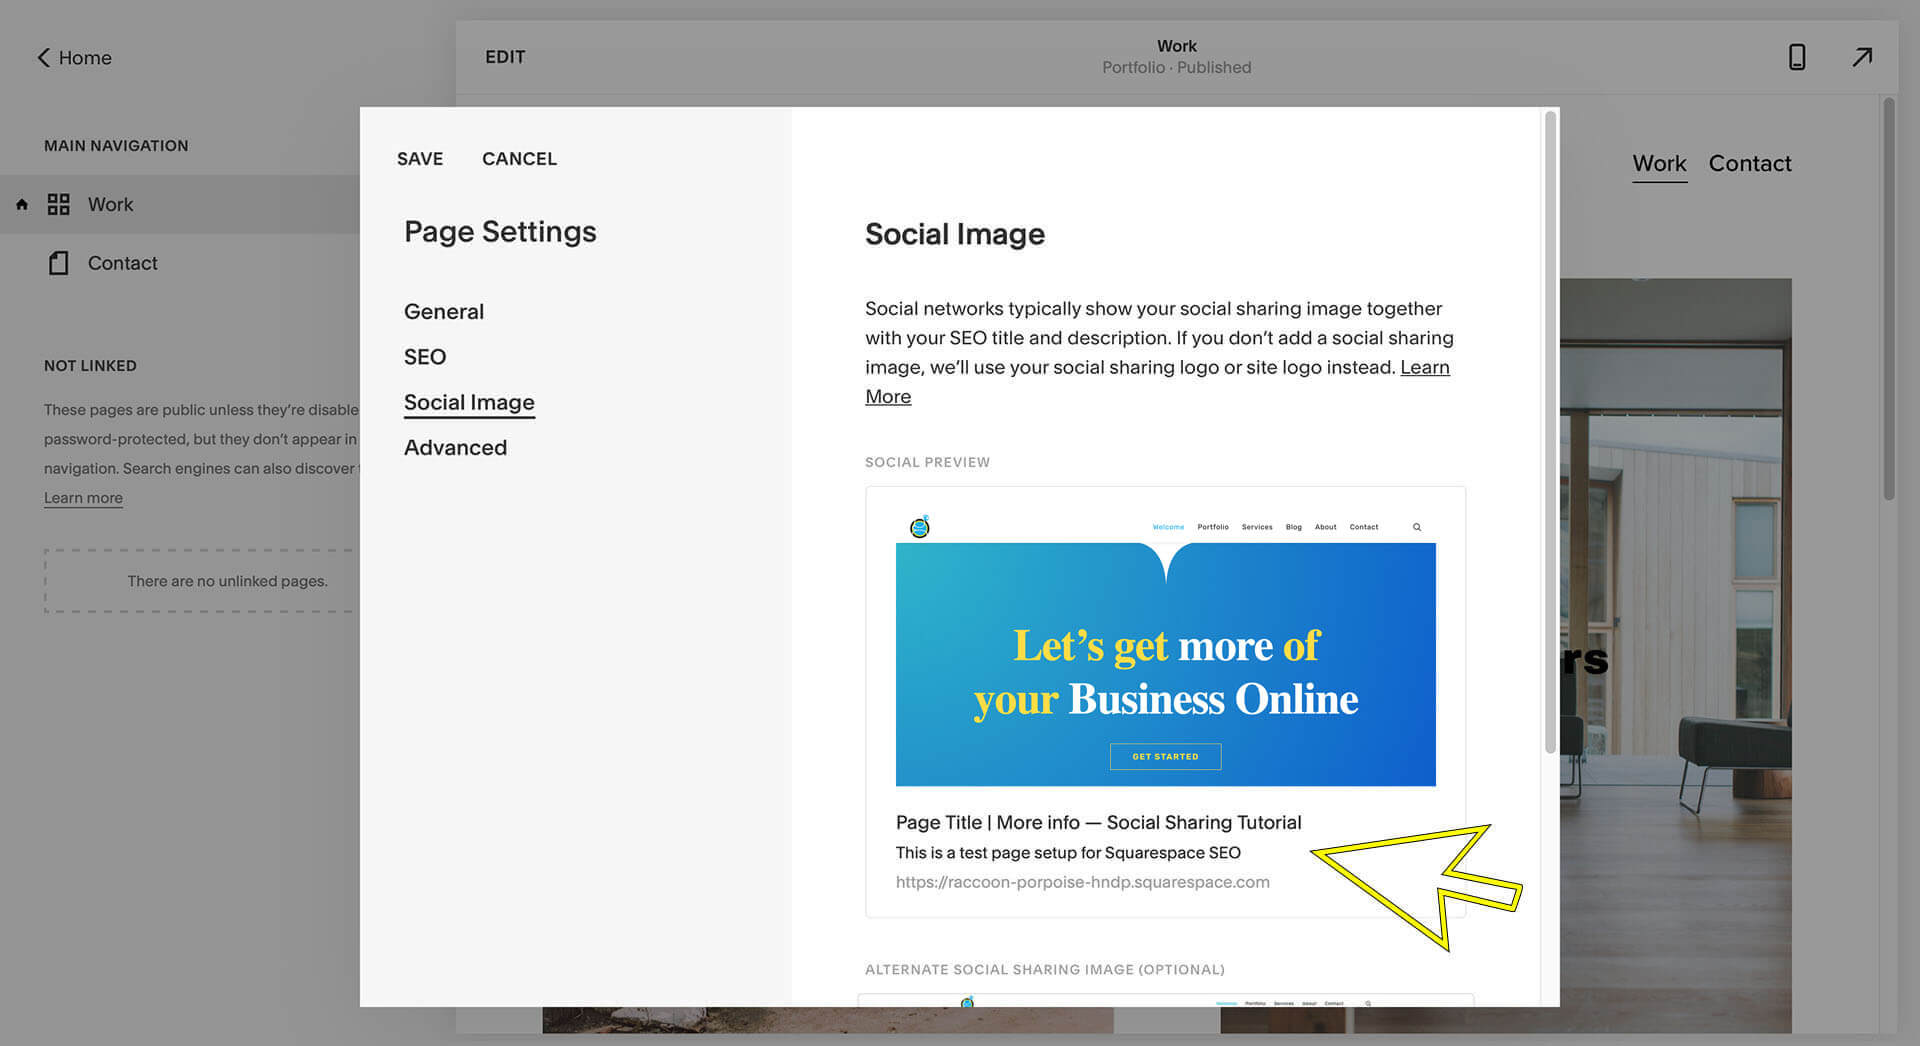
6. If you would like to change the information below the social image change your SEO settings with the “SEO” link on the left.
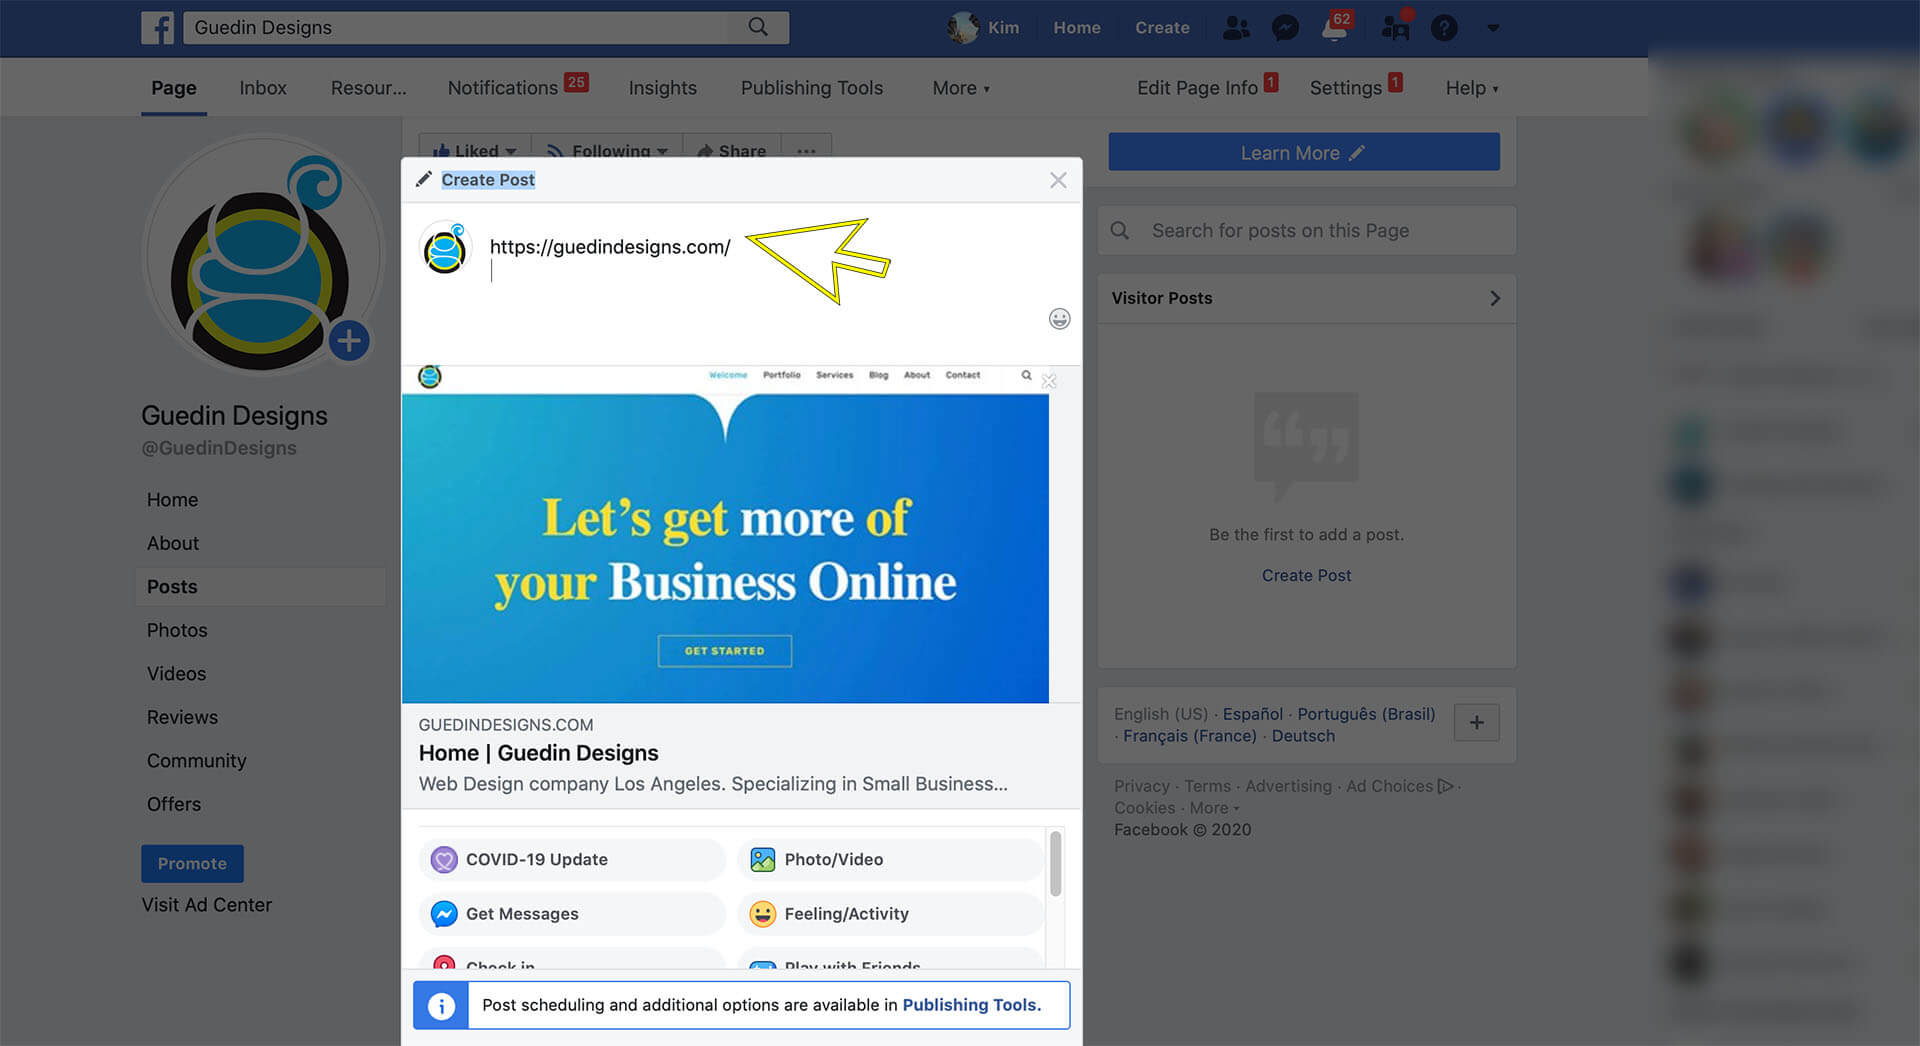
7. Add your website link to a post in Facebook, Twitter, and/or LinkedIn.
After the social image pops up you can replace the url text in your post to whatever text you want.
8. If your social sharing image on Facebook is not updating to your new image please follow these steps to solve the problem.